CORV8
Corvair Page of
Dick Bolt
Bowie MD
[email protected]
7-30-2003
Corvair Autos of 1960-1969
My 1965 Corvair Corsa 4 barrel Carb Version--Not scanned yet!
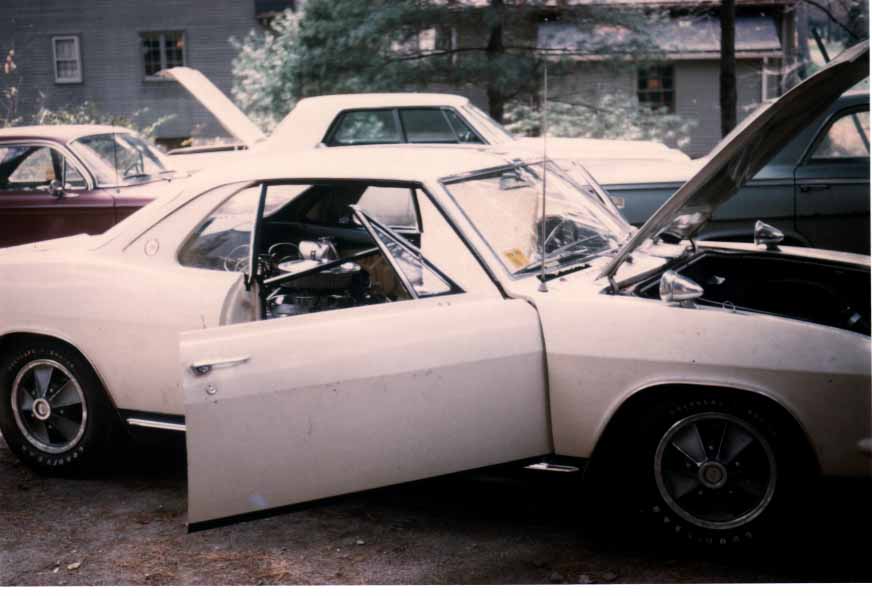
My 1966 Yenko Stinger Corvair
Stage I No. 99--Converted to CORV8 ( only one done)
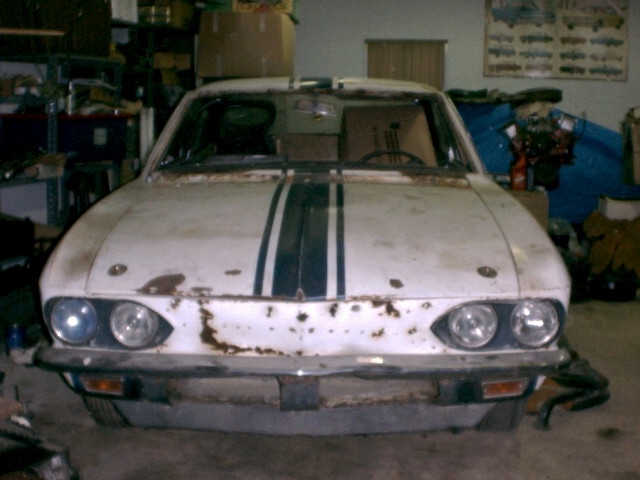
CORV8 built by me in an 1966 Yenko Stinger Corvair #99. This is a Corvet
350cubic inch Corvet V8 engine in the back seat of a Corvair!
The reality of the situation is, if I had left the Yenko stock instead
of putting $3000 and endless hours into the supe up conversion, the car
would
have been worth more today!
Corv8 In Mark's garage in 2001
Sold again in 2001
|
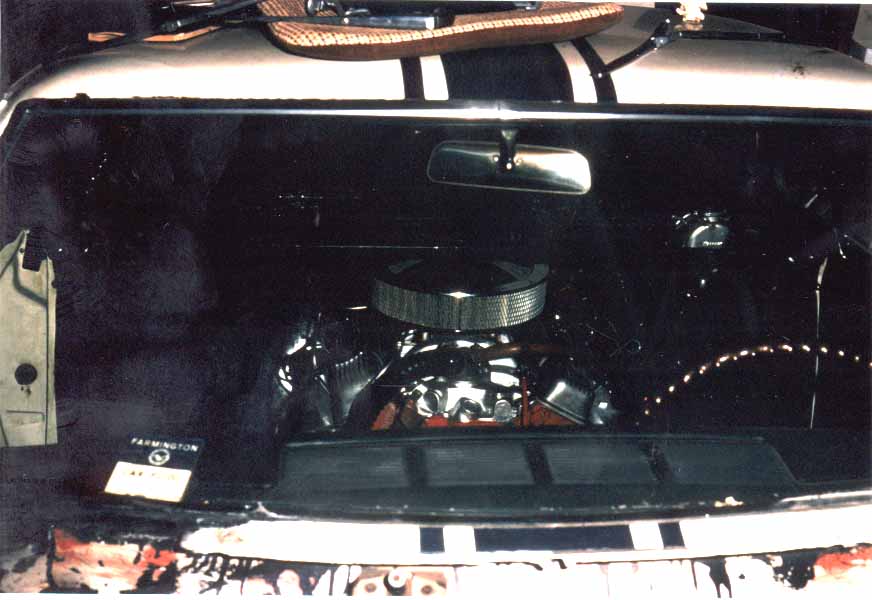
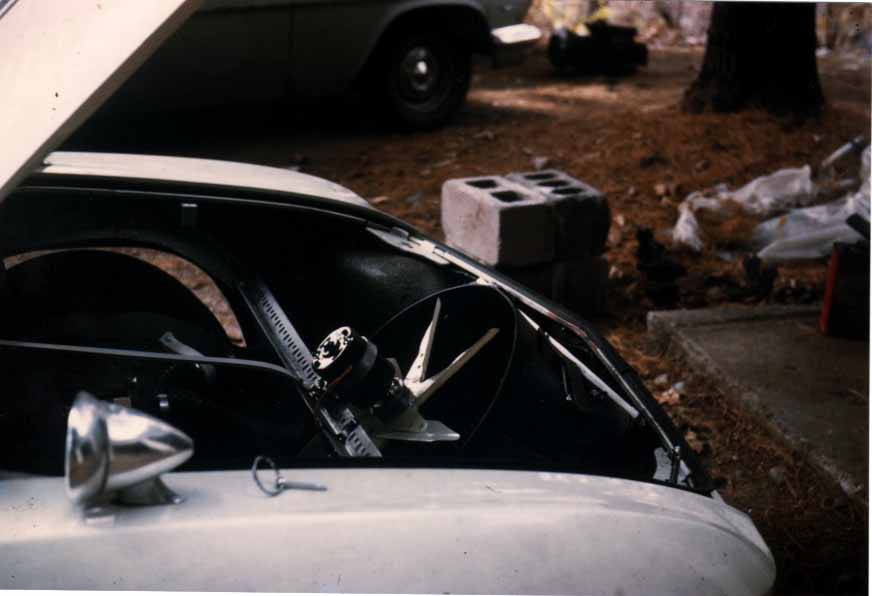
My Corv8 engine from front taken through windshild.1973
|
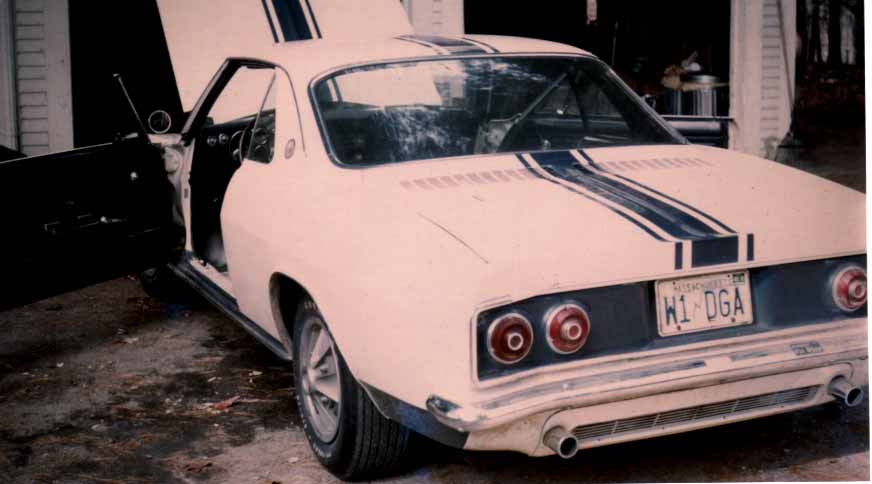
My Corv8 during build in MA
from left rear showing license plate.
1973
|

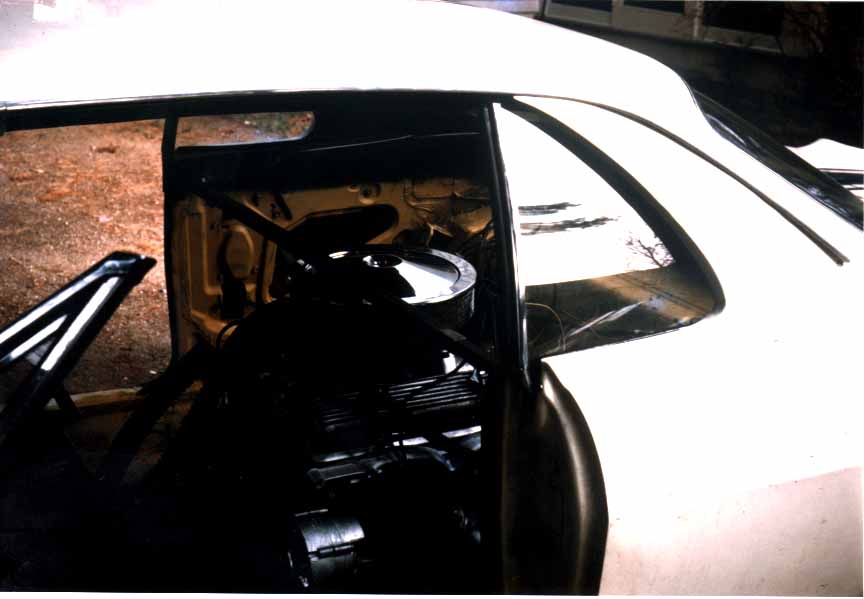
My Corv8 from left rear.
Scene of V8 from left side pre seat instalation. Engine is where
rear was in stock Corvair.Scene from left side of dash and bare floor.
1973
|
My CORV8 Shot from left side showing dash, floor boards & little
of engine.1973
|
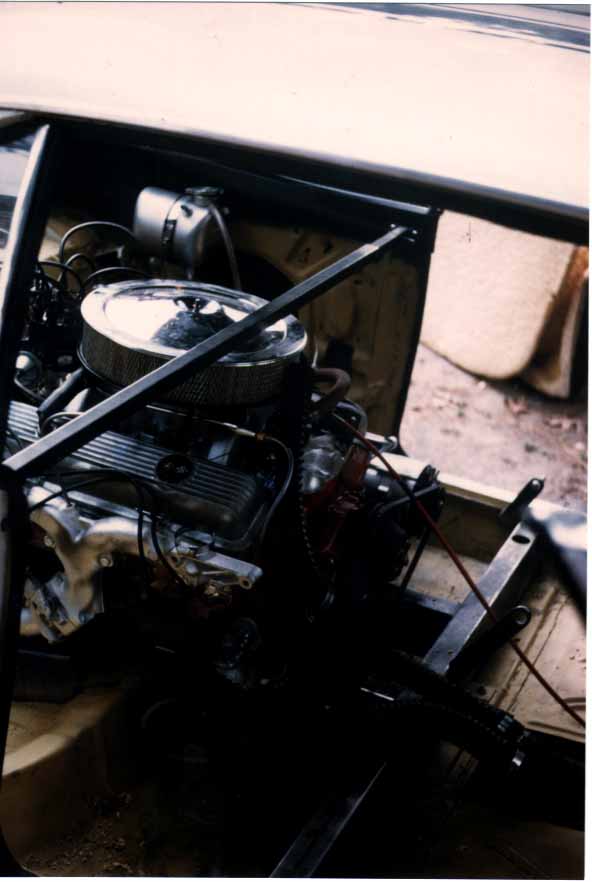
My Corv8 from right side showing
the top of the engine.1973
|
My CORV8 Shot of Corvair trunk area that is now the radiator
compartment.
1973
|
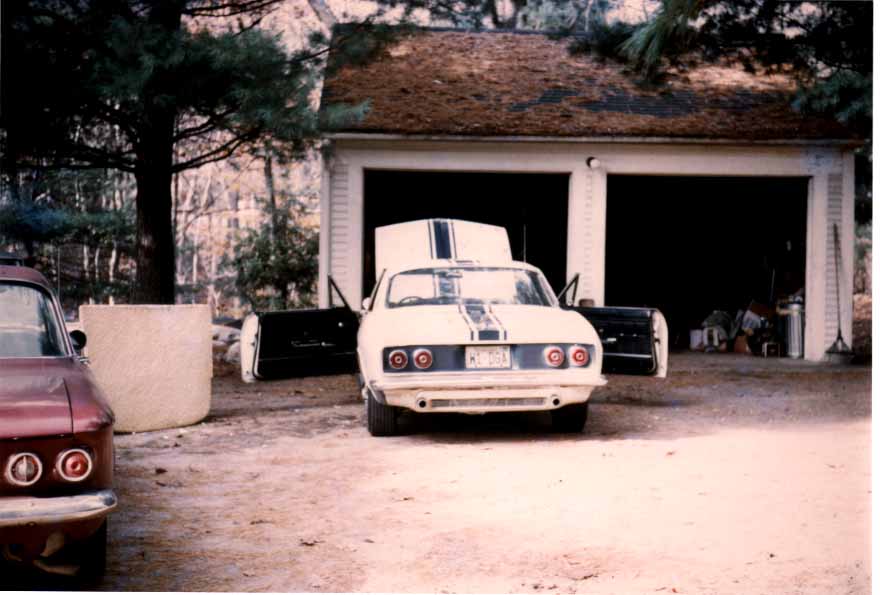
Rear of CORV8 during builkd in
Wilbraham MA. See mom & dad's garage.
1973
|
Shot from rear on Right side
1973
|
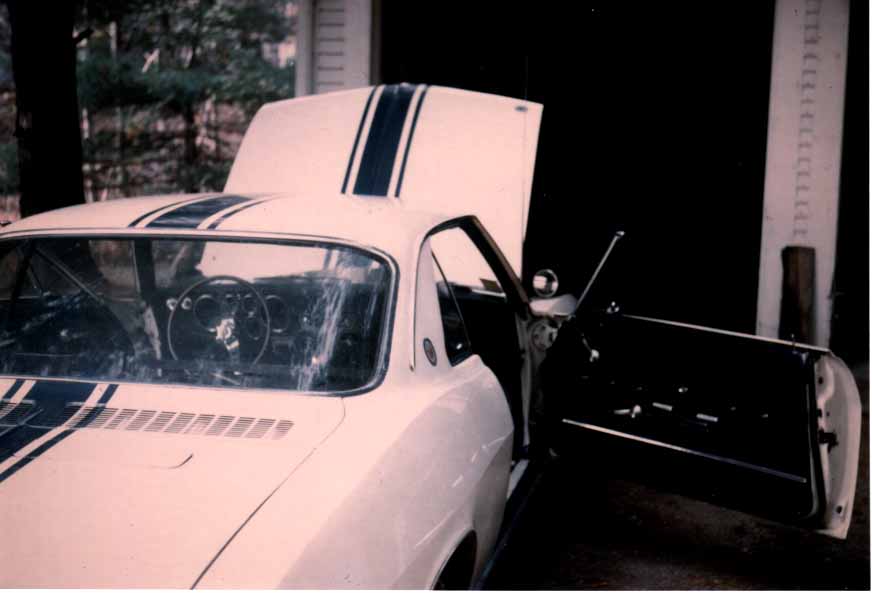
Side View during build in MA
1973 All From 2-1/4X 2-1/4 color Slides
|

CORV8 at Mark's place in 2001
Sold on E-Bay by Mark ( owner #3)
|

Yenko Stinger Nom 99
Title for Mass.in 1974
This was registered as (6) cylinder,
even though I put down 8 !!!
They thought they knew better.
|
This is not old #99, as there are shown two rear deck flaps for
carb air.
|
|
|
|
Building a CORV8
The Car
CORV-8 Built in 1966 Yenko Stinger #99.
The car with abt 90K miles on it was purchased from the original owner
in the Hartford CN area about 1968. The engine was removed & sold.I
had put abt. 7K miles on it my records show.
The Brake System
The entire brake system was renewed, including the rusty lines! The
new brakes were sintered metalics.
The New Engine
The engine was purchased new from Chevy in a crate. It was a 1970 LT1
350 Solid Lifter version. It was new in crate from Chevy in West Springfield
MA. It was last one Chevy had to ship. It was a replacement for CORVET
engine & came new in big wooden crate I returned bell housing, holly
carb, and few other extras I did not need or I already had for credit!
As the wanted 350 Corvet hydralic version was just discontinued, I purchased
the solid lifter version. This would prove a bad choice
for my private conversion.
I found the half valve keeper shortly after during an oil area check.
Very lucky not to ruin the engine.
During hill climb test in Wilbraham Mountain, I dropped a half a keeper.
It was a mile up and very steep , but nicely paved. Vision was good for
safety. There was a fellow at top of hill that
came out a few times to shake his fists at me. I guess the dual exaust
and mufflers could be heard well while I was in 2nd or third gear. I think
the tack was not reading properly and I likely
over reved!
The Carb for V8
The stock carberator that came with the crate engine ( 950 Holley as
I remember) was exchanged for a slightly tamer Holley version. The bell
housing was also returned for refund.
Remember the conversion needed a special bell housing to mate with
the Saginor (sp) box.
The Radiator
The new radiator was ordered as all the conversions I knew of at the
time were having trouble with engine overheat!
I ran just water in the summer as I felt it was providing better heat
removal from tests. This is in contrast to 50/50 for antifreeze fluid.
The radiator chosen was a Corvet copper cross flow replacement version,
not the stock Aluminum one at that time. The radiator was electric fan
cooled and hot air exited via the oval holes cut in the
tops of the front wheel wheels. Another hole was cut in the floor board
area in front of the driver to allow hot air from the radiator compartment
to enter the passenger area on a cold day. I
had a sliding flap over it so the driver had control of volume of air
& heat. Remember the radiator was put in front in what used to be the
luggage compartment in a stock Corviar.
The radiator fan in the front was driven with a (larger that kit) truck
electric radiator fan motor and a double bladed blade that was in at that
time.
I remember getting on it while commuting home from Farmington CN &
via Hartford Center in the summer. My back was glowing from the engine
radiated heat. This is through the foam
sprayed on the back of the seat & the appolstry we had to provide.
The Tansmission
The transmission was blown up early in testing. I decided to redesign
the motor to transmission shaft & bearings. I think part of the failure
was from case bolt assembly errors however. I
changed the kit design of small Corviar sized bearings &
shaft diameter to a high speed version used in the Chevy Impalla as I remember.
Larger bearings. I had the special shaft made in a
Springfield MA machine shop to my specs.
The transmission was converted to a close ratio box via Corvet Eng.
Help. It used gears from other Chevy Saginaw boxes. I was able to start
off in 4th gear very easy, no strain. Only for
testing.
I developed a strong spring idea on the outside of the transmission
to help the shifting.
Best records say transmission was a close ratio box ( 2.54) per Corvet
Engineering & my purchase new their recommended parts ( gears) .
Working With Corvet Engineering
I was at that time conversiing with at least one Corvet Engineering
Engineer via telephone.
The Big Move To DC Area
The conversion was uesd for about 10K miles and then trucked via moving
van to Washington DC area where it sat looking tired & lonesome in
my tickey-tack house.
The Sale in MD
I sold it to a fellow
MD person ( Mark) after advertising it in the CORVAIR Magazine. This
was about 22 yrs ago. As far as I know, it still sits in a barn in central
MD without its engine.
Oil System
As it only had room for a stubby oil filter in conversion, an extra
full flow larger filter was added in line.
Fuel Milage
It got about 6 mpg during periods of GETTING ON IT.
Fuel Pump
Records indicate it likely was a Mechanical Fuel
pump, not electric ?
Windshield
Windshield was cracked / broken in MA garage
during build & was replaced.
Steering Column
It had an adjustible steering column.
Yenko Paint
I kept it as a Yenko paint version. All I have left are memories &
the glove box book.
Air Intake & Filter System
The air intake was from the rear intake for the original Corviar engine.
The air from the out side of rear window was ducted to the V8 carb and
included a pressure relief hole to prevent
unintentional leaning out of the Rochester Quadra Jet Carb mixture.
Tires
The tires were kept at only 6 inch width Goodyears to protect the clutch
& transmission.
Crown Kit
A friend of mine copied the kit himself & was doing almost non
recoverable wheelies! Its hard to steer with your two front tires in the
air!
Seats
The seats were the stock kit double bucket seats. I remember getting
a cleaning rag caught in the fan belt and running my fingers over the pully.
OUCH!
Rear End
Stock 3.89 Yenko RE gears & Posi. Best gears were used from 3 REs
I had. Posi plates replaced with new ones. RE was upgraded with Crown Kit
extra spider gears. Also, gears ( shaft) was preloaded by me with an inch-pound
torque wrench & blue prussion dye to check tooth mess pattern via Corvair
book.
Other
There was of course NO fan blade on the engine front.
The engine compartment in the old Corvair back seat area was covered
with the stock kit cover. It was very noisy with the solid lifters. 16
tiny hammers!
I don't at this writing remember if I used an electric fuel pump or
not. I do remember amassing 3 transmissions & 3 rear ends before starting
assembly. I wanted to put the best parts in one.
I kept the Yenko stoch 3.89 Rear End & Posi unit. It was upgraded
to the 4 spider gears as recommended however.
I had several buddies help me with the work. This included two strong
fellows that lifted the crate engine up and into the car . I did lots of
pop rivet work that included air ducting areas as
well as other. The car used capicator discharge ignition. It had a
fire estingisher in front . It had aircraft style seat belts into the buckets
seats for only two.
Origional Page Done----7-19-99
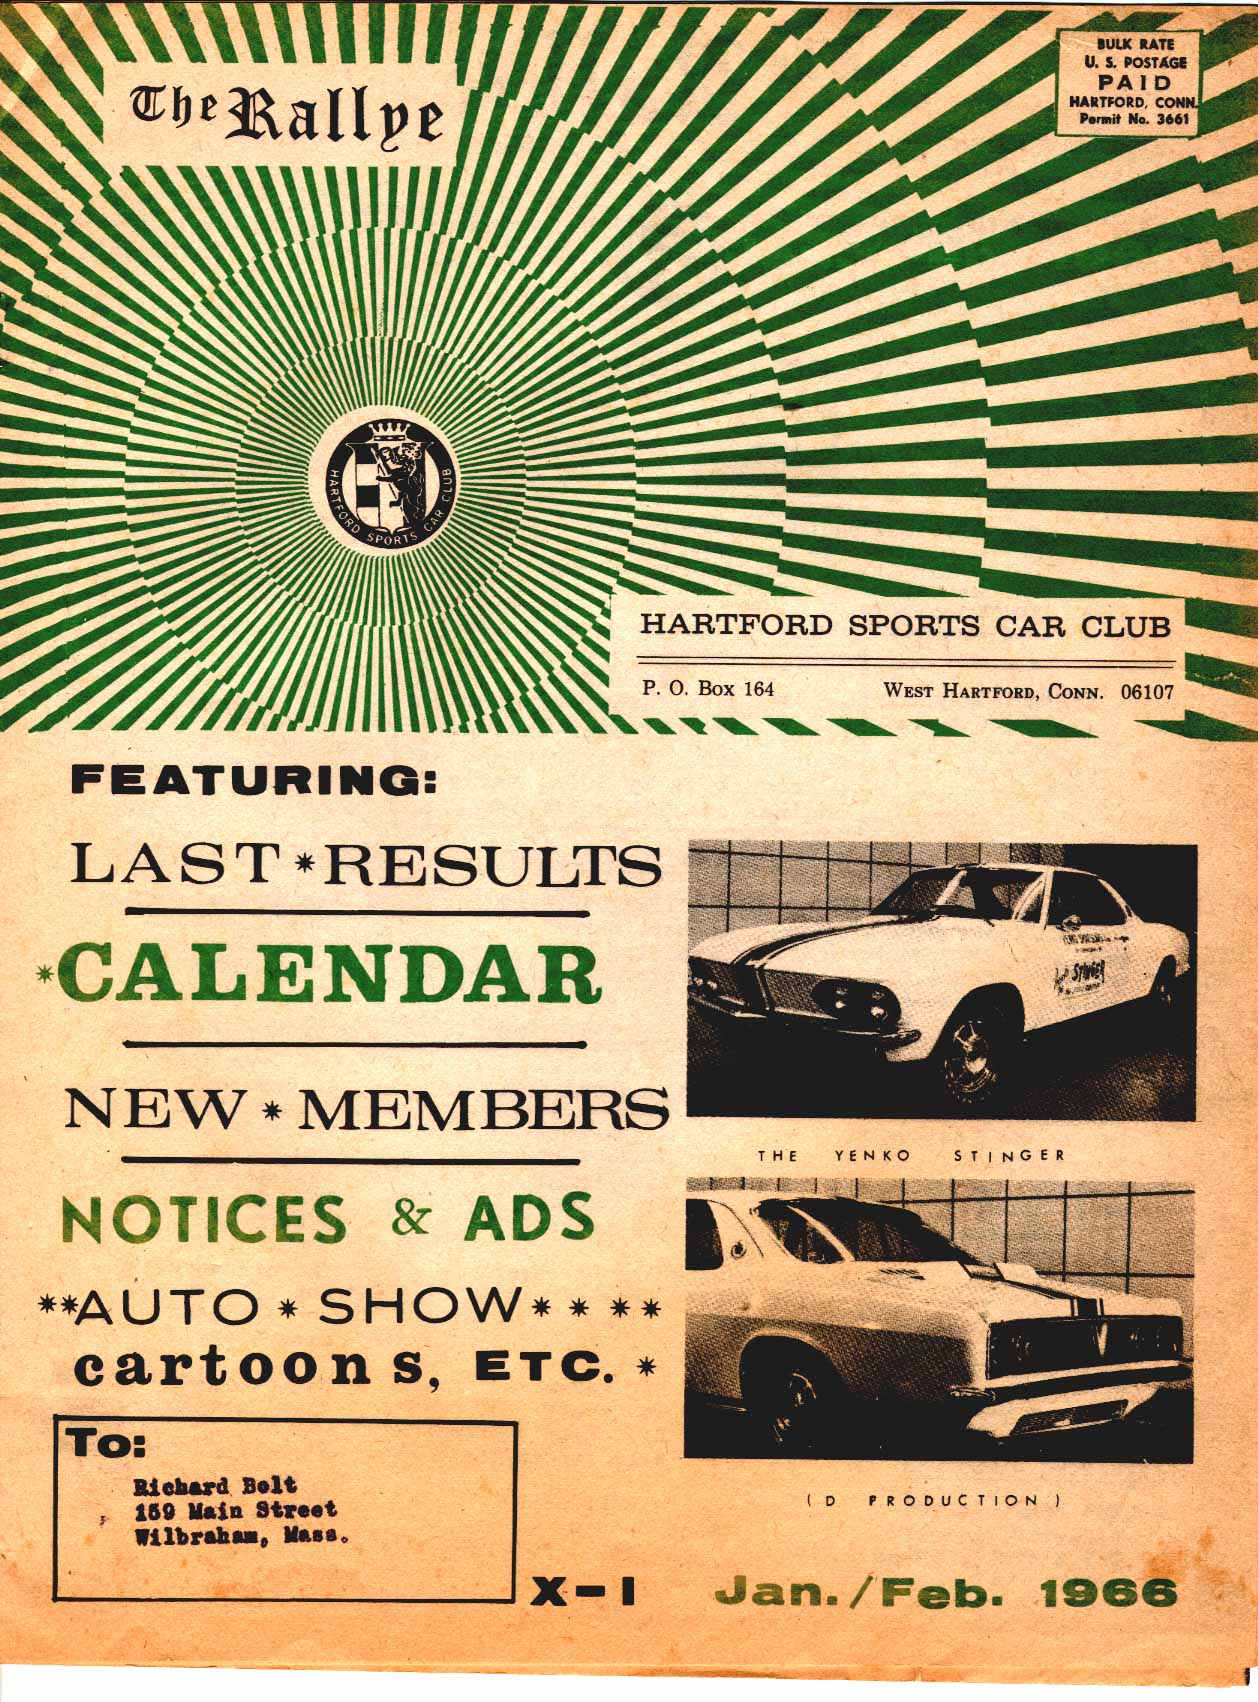
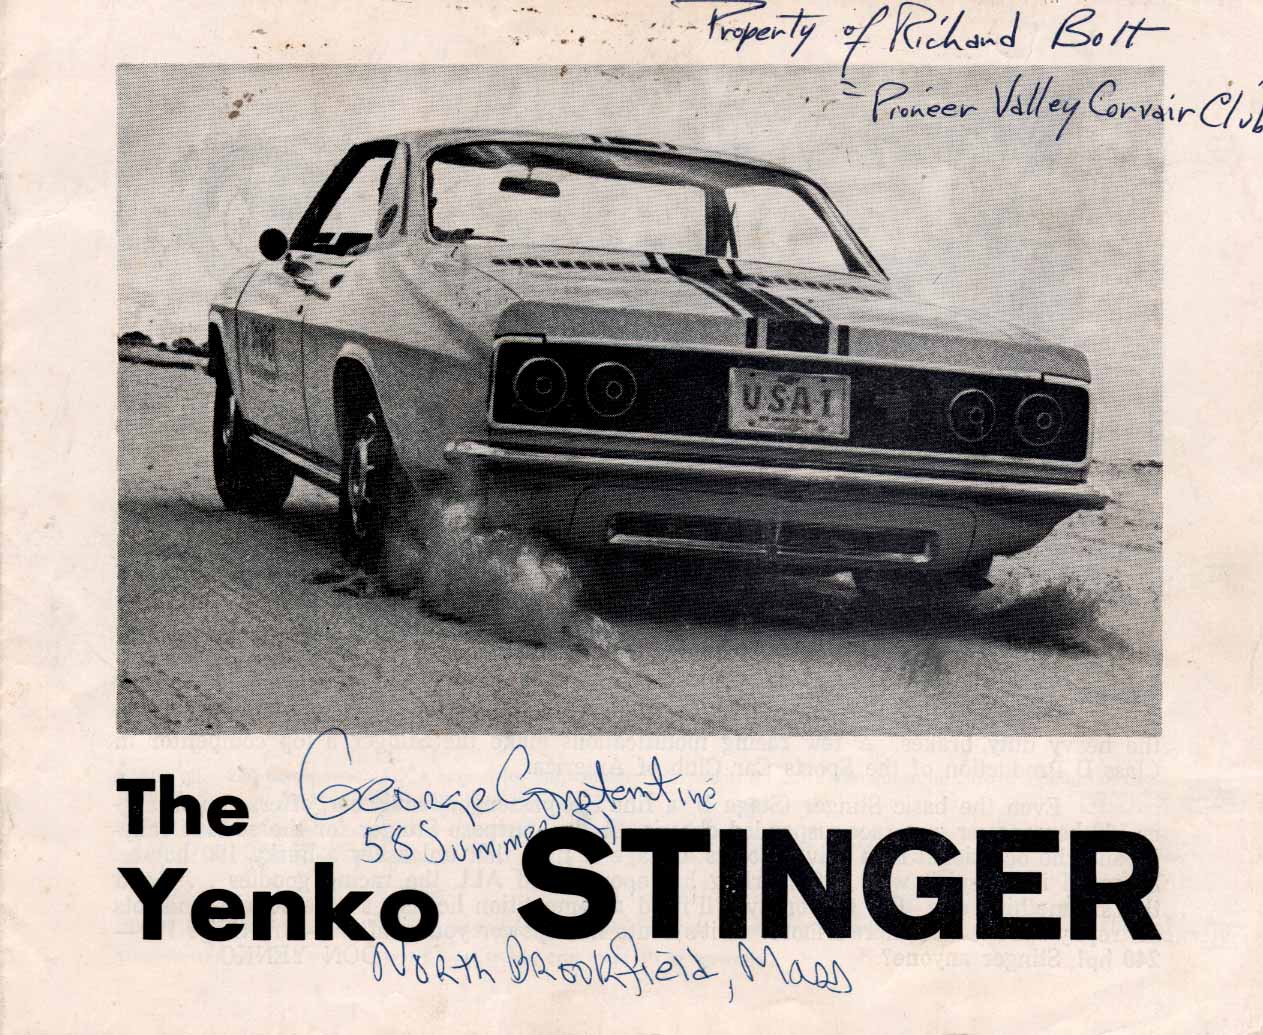
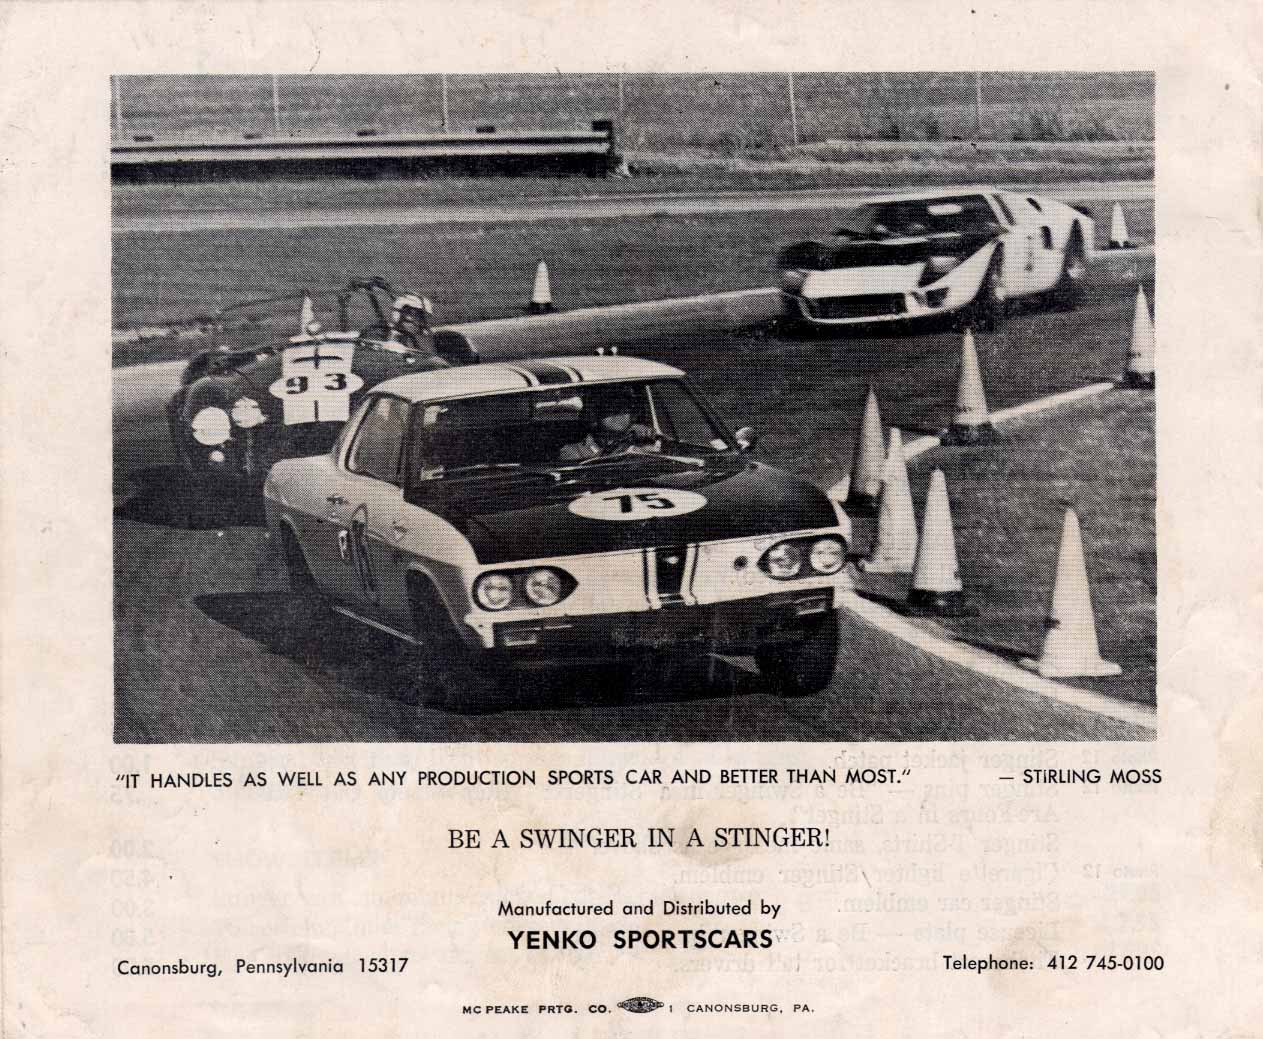
Yenko Stinger Sales Booklet
( 8 Pgs with covers)
Front Page / Cover
|
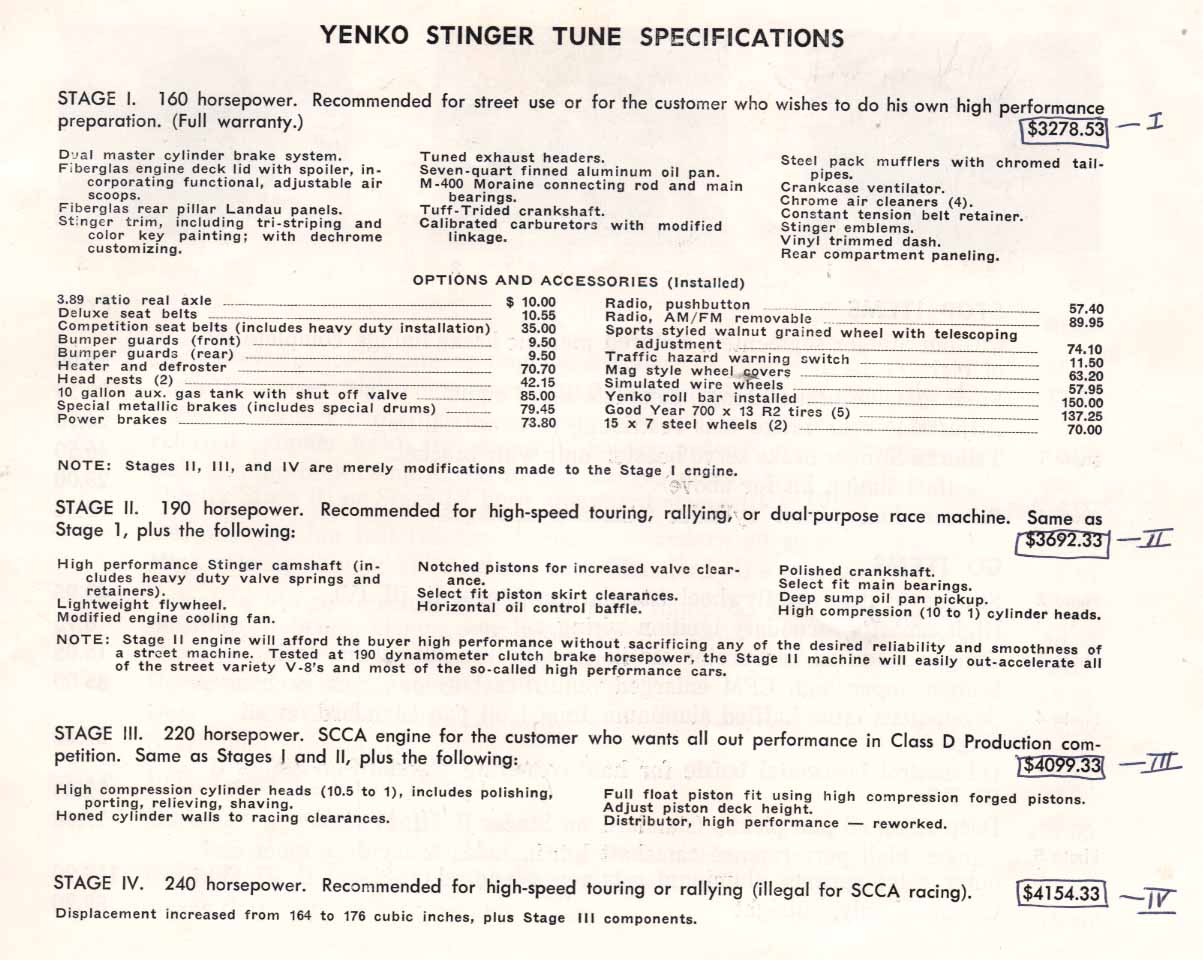
Yenko Stinger Price List
|
|
|
|
|
| |
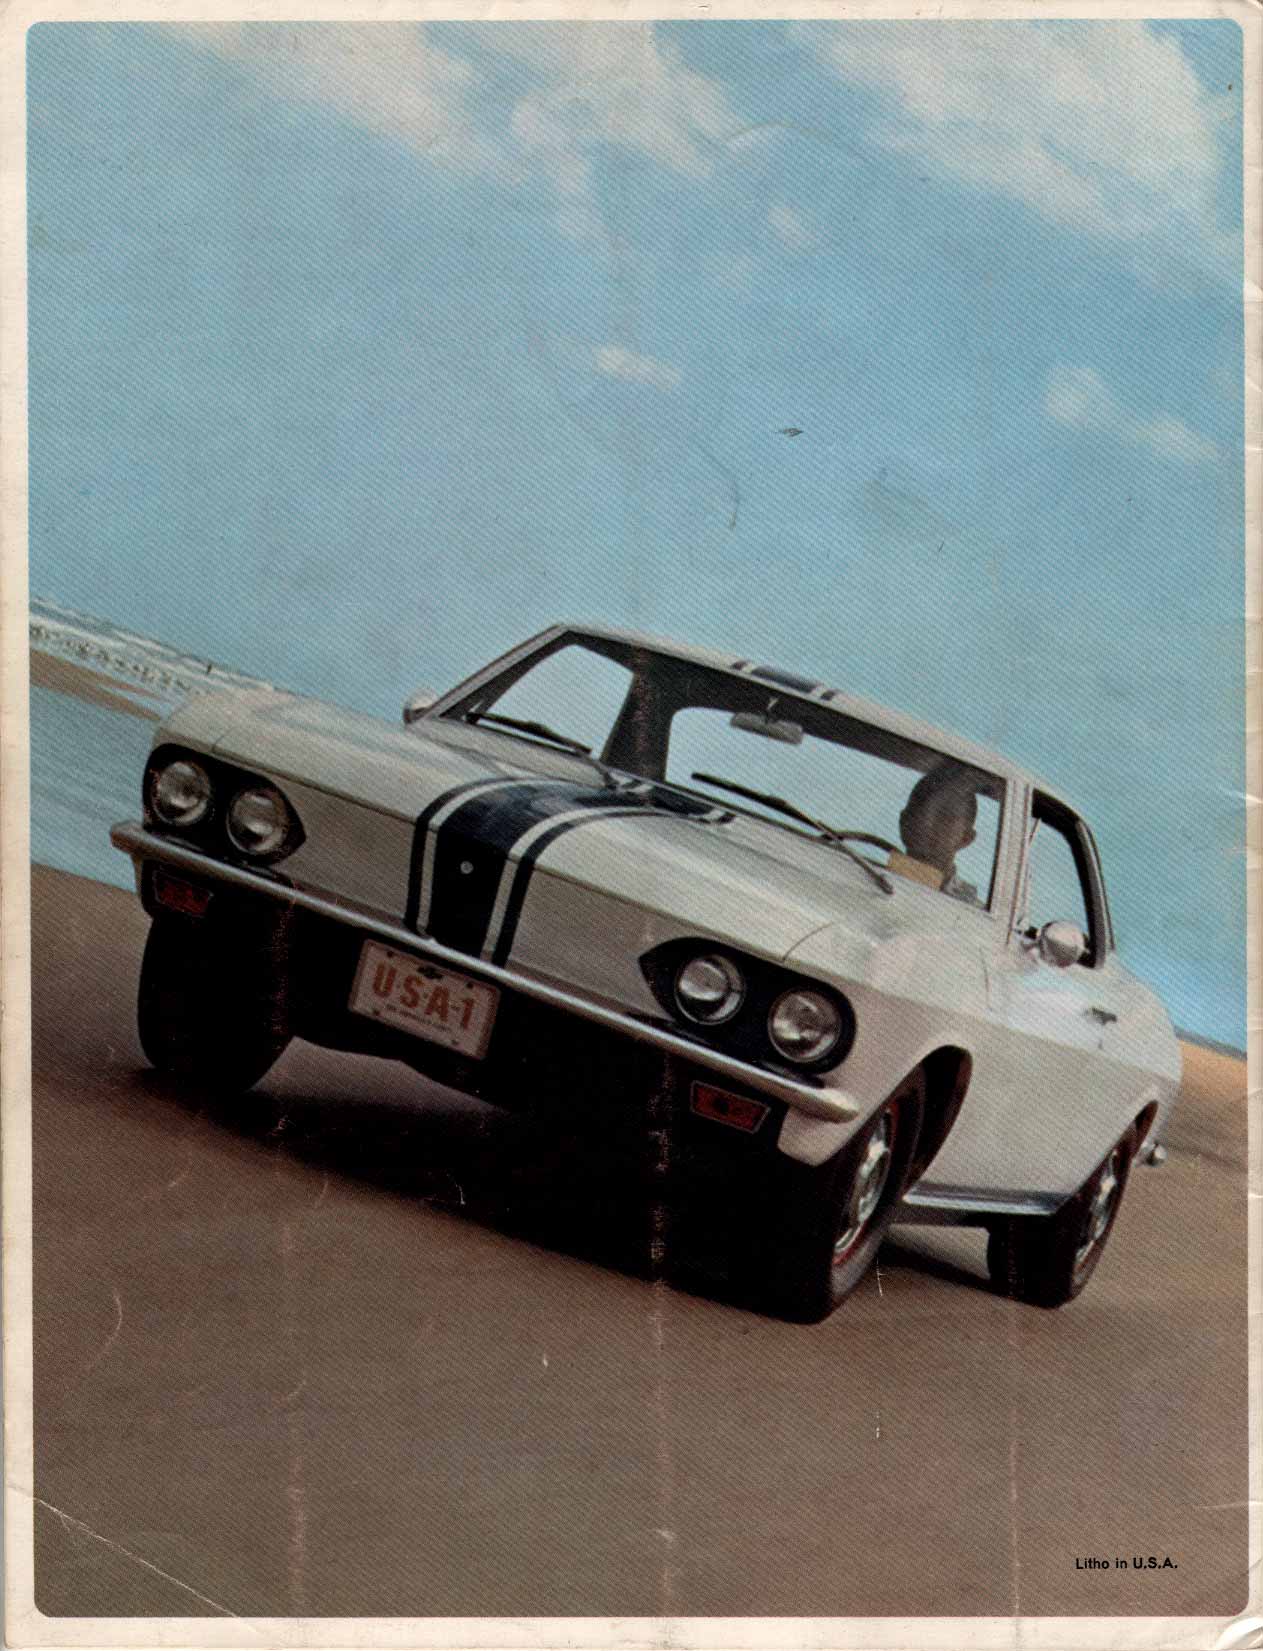
Rear Page / Cover
|
Corvair Communiques Vol 4 No2
( yr ? 1966? ) ( 16 Pgs with covers)--Contains Yenko Corvair Racing Pages

Front Cover
|
Rear Cover
|
 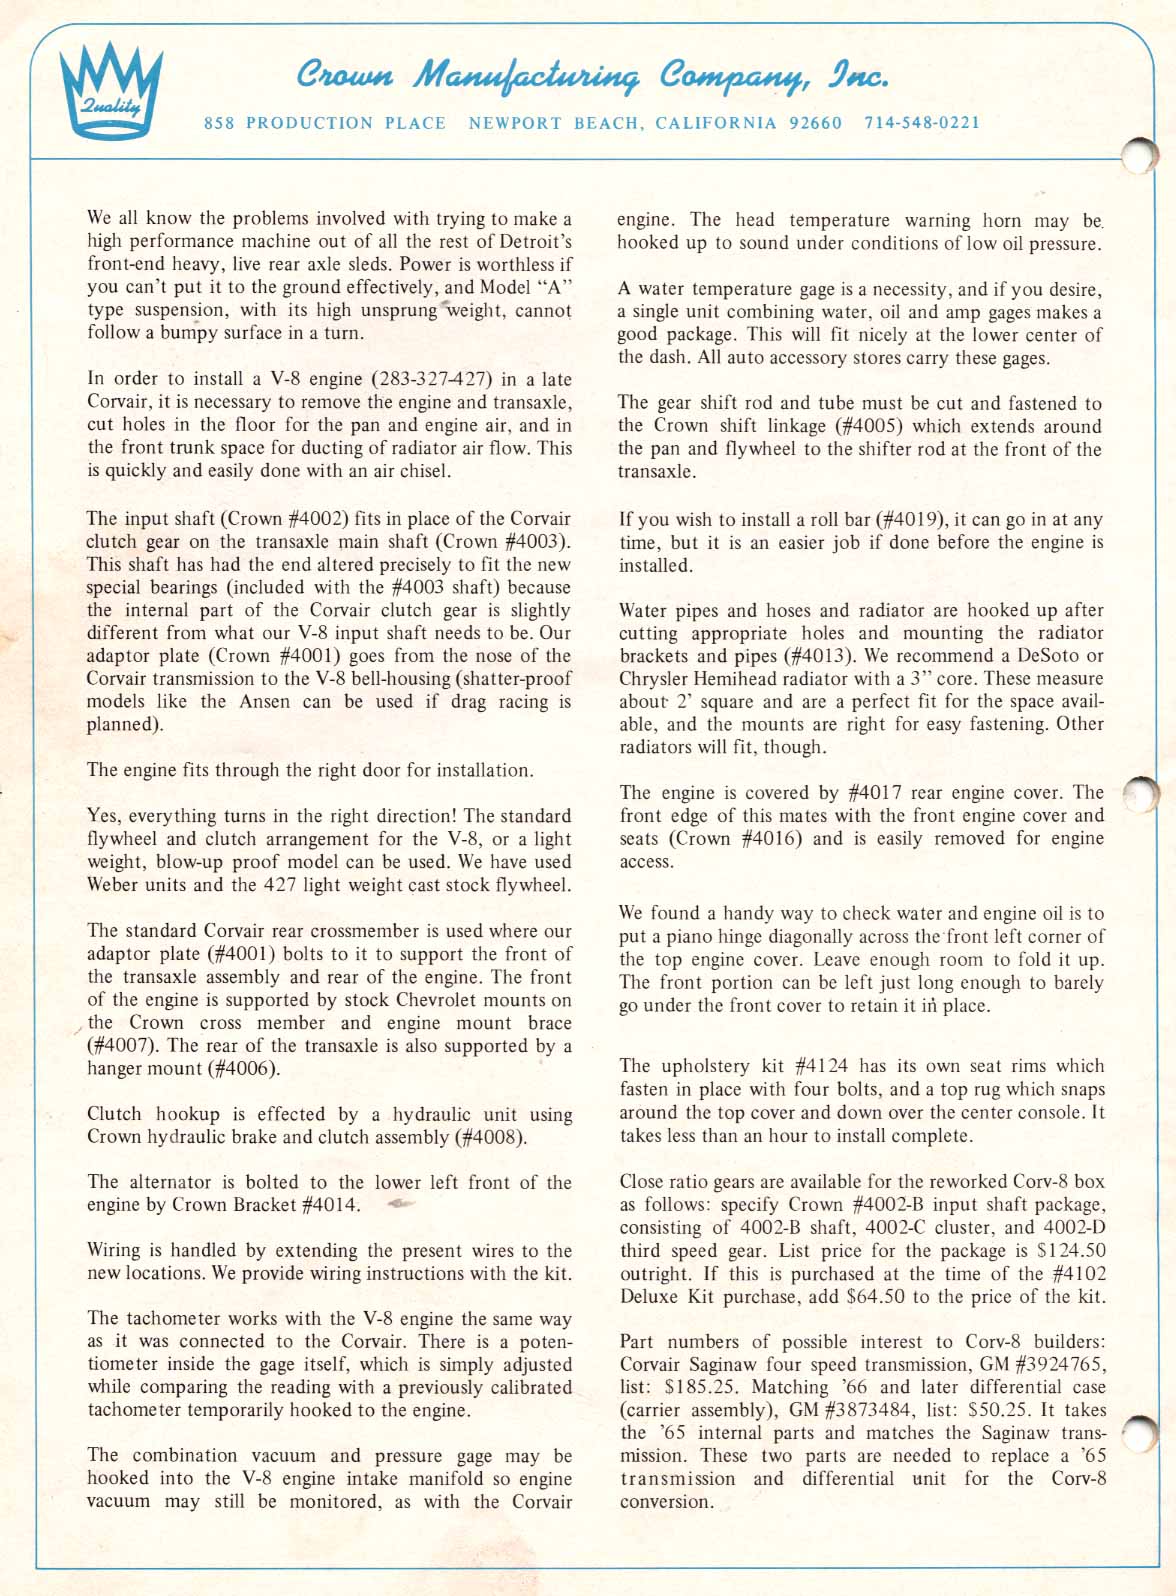   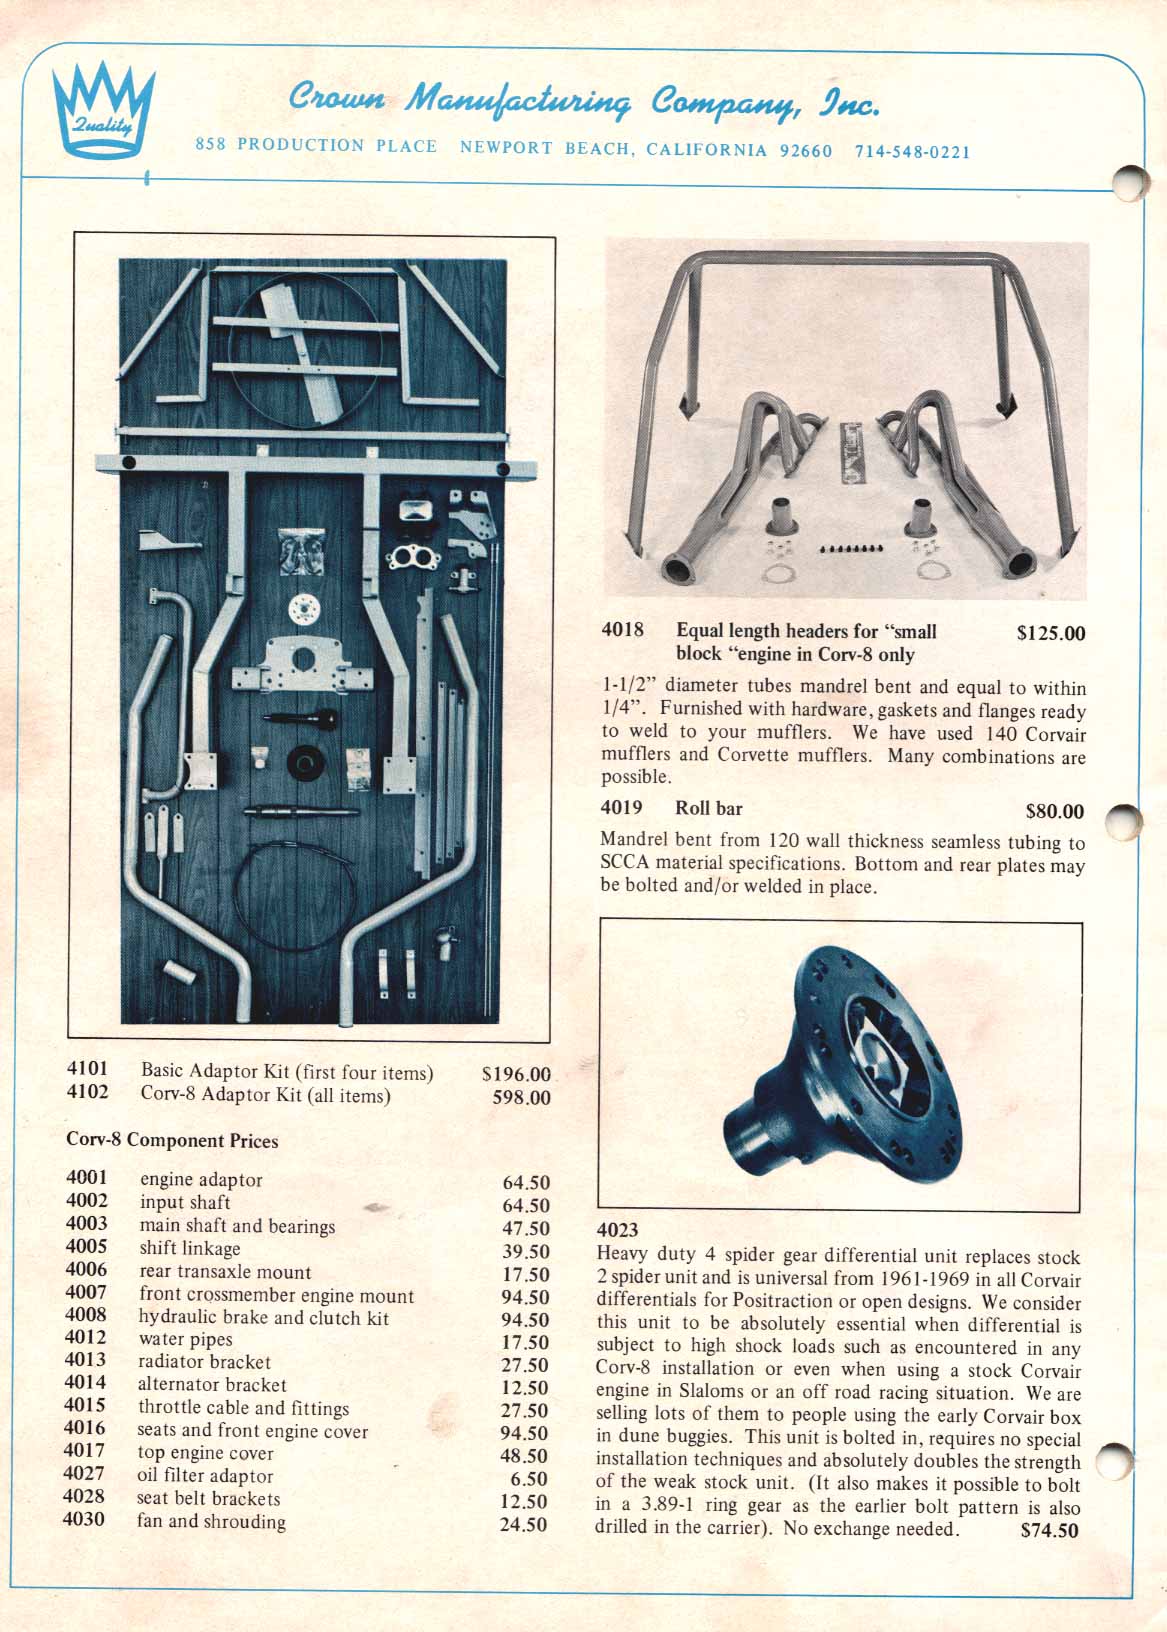
Crown Kit Book Cat #6 from 1970s
Pages Related to CORV8 Kit |
|
|
|
|
|
|
|
|
|
|
|
|
|
.
.

My 66 Yenko Corvair Glove Box Manual ---for Yenko #99--Front Cover
30 Pages + 3 more intro--March 1967 Publish
|
|
.
.
Yenko Glove Box Book--Pg ( undercover) Pg-a Pg-b
Pg1
Pg2 Pg3
PG4
Pg5
Pg6 Pg7 Pg8 Pg9
Pg10 Pg11 Pg12
Pg13 Pg14 Pg15 Pg16
Pioneer Valley Corvair Club of Springfield MA in 1960s &
1970S--Info later
Corvair Autocrossing in Springfield MA in 1960s & 1970s---Info
later
.
.
.


